If you’ve recently delved into the world of sous vide cooking, you may have encountered a common dilemma – the frustrating issue of your sous vide bags floating in the water bath. This can wreak havoc on your precision cooking, leaving you with unevenly cooked food. But fear not, there are simple tricks that can help you keep your bags submerged and your meals perfectly prepared. From utilizing the displacement method to using specialized weights, this article will guide you through practical solutions to tackle the floating bag predicament. Say goodbye to culinary mishaps and hello to perfectly cooked sous vide meals!
Choosing the Right Sous Vide Bags
When it comes to sous vide cooking, choosing the right bags is essential. Opting for heavy-duty or vacuum-sealed bags ensures that they are able to withstand the high temperatures and extended cooking times involved in this cooking method. These bags are designed to prevent leaks and contamination, providing a reliable seal throughout the cooking process. Look for bags that are specifically designed for sous vide cooking, as these have been tested and proven to be safe and effective. Additionally, make sure that the bags are compatible with your sous vide machine, as different machines may require different types of bags.
Removing Air from the Bags
Removing air from the bags is crucial to ensure even cooking and prevent the bags from floating in the water bath. There are a few different methods you can use to achieve this:
1. Using the Water Displacement Method
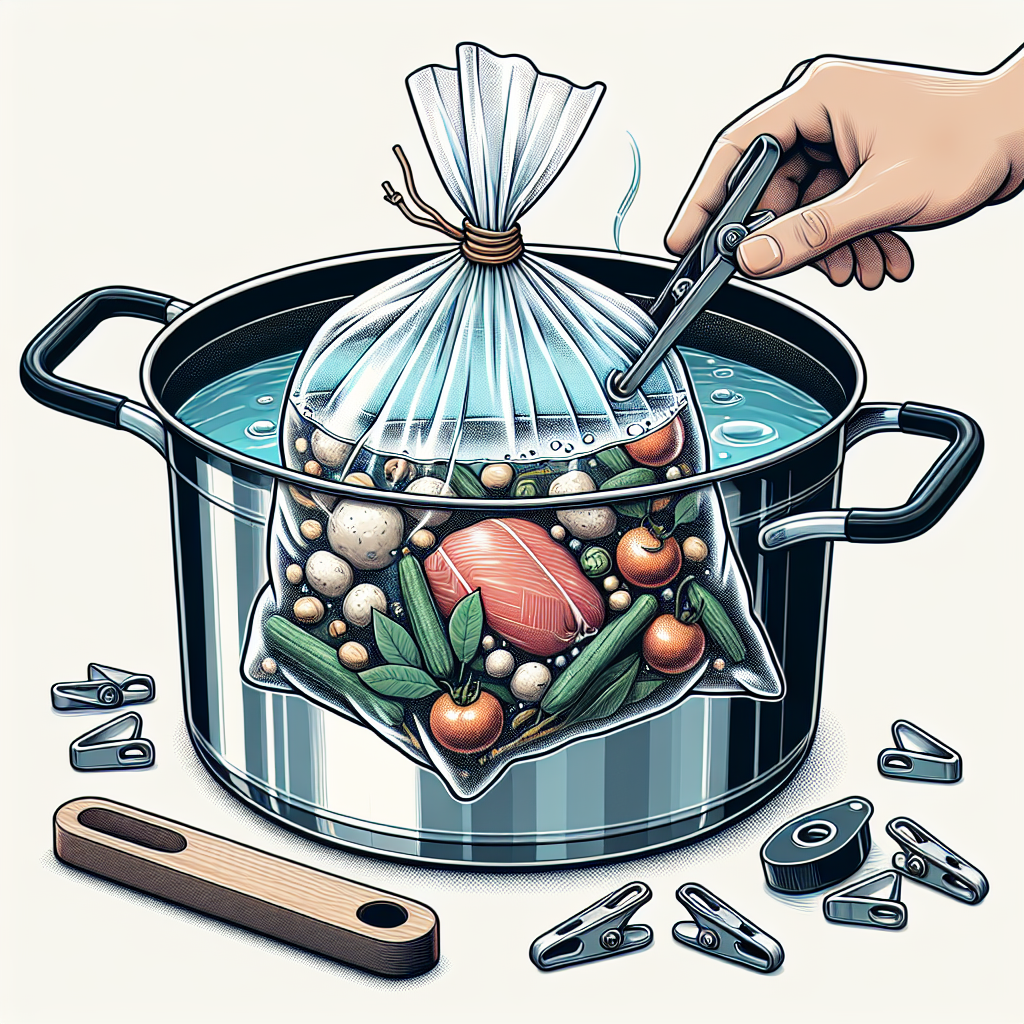
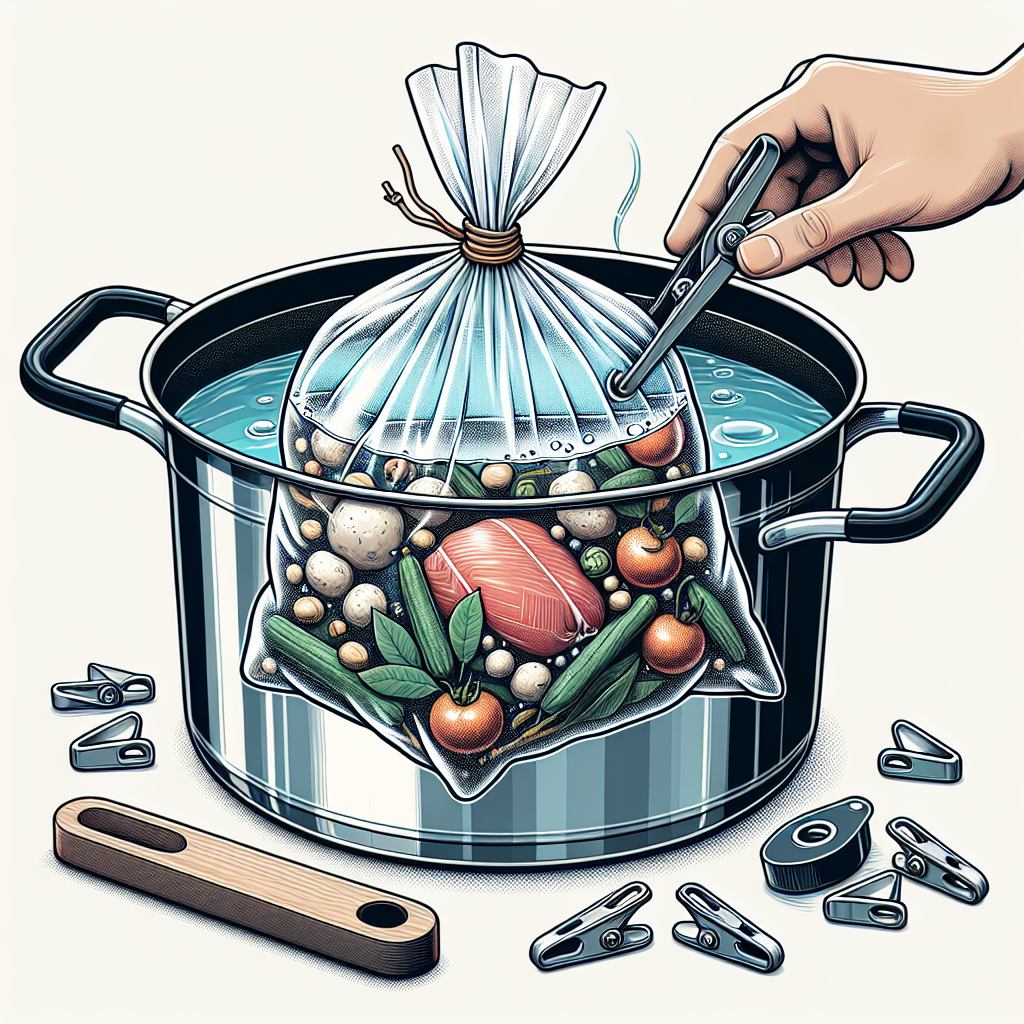
This is the most common method for removing air from sous vide bags. Simply place your food and any marinades or seasonings into the bag, leaving enough space at the top for the bag to be sealed. Slowly lower the bag into a container of water, allowing the water pressure to push the air out of the bag. Once the bag is almost entirely submerged, seal it tightly just above the water level.
2. Using a Vacuum Sealer
If you have a vacuum sealer, you can use it to remove air from your sous vide bags. Place your food and seasonings into the bag and then use the vacuum sealer to remove the air and seal the bag. This method is quick and efficient, ensuring that minimal air remains in the bag.
3. Using the Ziplock Bag Trick
If you don’t have a vacuum sealer, you can still remove air from your bags using a simple ziplock bag. Place your food and seasonings into the ziplock bag, leaving a small opening at the top. Slowly lower the bag into the water bath, allowing the water pressure to push the air out. Once almost all the air is removed, seal the ziplock bag tightly, ensuring no water enters the bag.

Securing the Bags in the Water Bath
To prevent your sous vide bags from moving around or floating in the water bath, it’s important to secure them properly. Here are a few methods you can use:
1. Using Sous Vide Weights
Sous vide weights, often made of stainless steel, are specifically designed to keep bags submerged in the water bath. These weights can be placed on top of the bags, ensuring they stay in place throughout the cooking process. They come in different sizes and weights, allowing you to choose the ones that best suit your needs.
2. Using Stainless Steel Spoons or Utensils
If you don’t have sous vide weights, you can use stainless steel spoons or utensils as improvised weights. Simply place them on top of the bags to keep them submerged. Make sure to choose utensils that are sturdy and heat-resistant.
3. Creating Homemade Weights with Food Cans
Another option is to create homemade weights using food cans. Empty and clean the cans, and then fill them with water or sand. Place the cans on top of the bags in the water bath, providing the necessary weight to keep the bags securely submerged.
Avoiding Minuscule Amounts of Air
Even small amounts of air can cause your sous vide bags to float. To address this issue, try the following techniques:
1. Using Marbles or Food-Grade Weights
To help keep your bags fully submerged, you can add marbles or food-grade weights to the bags. This extra weight ensures that the bags remain in contact with the water and minimizes the chances of them floating.
2. Double-bagging for Additional Support
If you find that your bags still have small amounts of air, consider double-bagging. Place the filled bag into a larger bag, allowing any excess air to escape between the two layers. Vacuum seal or use the water displacement method to seal both bags, providing an extra layer of protection against floating.

Ensuring Proper Bag Sealing
Proper sealing of your sous vide bags is crucial to prevent leaks and maintain the integrity of your food. Here are a couple of tips to ensure your bags are properly sealed:
1. Double-Checking the Seal Before Cooking
Before placing your bags in the water bath, always double-check the seal to ensure it is secure. Run your fingers along the edges of the bag, feeling for any areas where it may not be tightly sealed. If you detect any weak spots, reseal the bag to prevent potential leaks.
2. Using a Sous Vide Rack to Keep Bags in Place
For added convenience and to keep your bags secure, you can use a sous vide rack. These racks come in various sizes and are designed to hold multiple bags in a stable and organized manner. By using a rack, you can ensure that your bags stay in place throughout the cooking process.
Using Food Clips or Clothespins
Food clips or clothespins can be practical tools for securing your sous vide bags in the water bath. Here are a few ways to use them:
1. Clipping the Bags to the Side of the Container
Attach food clips or clothespins to the sides of your container and slide the bag into the clips. This method keeps the bags from floating or moving during cooking, providing a more consistent and even cooking experience.
2. Securing Bags Between the Grill Grates
If you’re using a grill for your sous vide cooking, you can secure your bags between the grill grates. Simply place the bags on top of the grates and close the lid, ensuring that the bags are firmly held in place.
3. Using Clips to Attach Bags to Cooking Racks
If you have cooking racks, you can use clips to attach your bags to the racks. This method holds the bags securely and prevents them from floating or shifting in the water bath.

Applying a Lid or Covering to the Container
Using a lid or covering for your container helps maintain a stable cooking environment for your sous vide bags. Here are a few options:
1. Using a Lid Designed for Sous Vide Cooking
Some sous vide machines come with a lid specifically designed for sous vide cooking. These lids have a cutout that allows you to attach your sous vide machine directly to the container, ensuring a snug fit and preventing heat loss during the cooking process.
2. Covering the Container with Plastic Wrap
If you don’t have a dedicated sous vide lid, you can cover your container with plastic wrap. Stretch the plastic wrap tightly over the opening of the container, ensuring that it completely covers the top. This helps to trap heat and maintain a consistent temperature in the water bath.
3. Using Aluminum Foil as a Covering
Another option is to use aluminum foil as a covering for your container. Simply crimp the foil tightly around the edges of the container, creating a makeshift lid. This provides insulation and helps to retain heat during cooking.
Dividing the Contents into Smaller Bags
If you have a large quantity of food or ingredients, it’s a good idea to divide them into smaller bags. This ensures that each bag has enough space for water displacement and allows for more even heat distribution during cooking. By separating the ingredients into individual portions, you can also have greater control over the cooking time and temperature.
Using the Water Displacement Technique Properly
To ensure that your sous vide bags are fully submerged and that air is properly expelled, it’s important to use the water displacement technique correctly. Here’s how to do it:
1. Ensuring the Bag is Fully Submerged in Water
When using the water displacement method, it’s crucial to ensure that the bag is fully submerged in the water bath. This allows the water pressure to push out any remaining air and creates a tight seal. Make sure to lower the bag slowly into the water, allowing the water to fill the bag as you go.
2. Allowing the Air to Escape Naturally During the Process
As you lower the bag into the water bath, you may notice bubbles or air escaping from the bag. This is a sign that the air is being expelled and that the bag is properly sealed. Allow the bag to rest in the water for a few moments to ensure that all the air is released before sealing it completely.
Testing with a Float Test
Before cooking your sous vide bags, it’s a good idea to perform a float test to ensure that the bags are properly sealed. Here’s how you can do it:
1. Determining if the Bag is Properly Sealed Before Cooking
To perform a float test, fill a sink or container with water and submerge the sealed bag. If the bag stays completely submerged without any air bubbles escaping, it indicates that the bag is properly sealed. However, if you notice any leakage or air escaping, you’ll need to fix the seal before proceeding with cooking.
2. Fixing any Leakage or Resealing if Necessary
If the float test reveals any issues with the seal, you can fix the problem by resealing the bag. Ensure that the sealing area is dry, and then use a vacuum sealer or the water displacement method to create a new seal. Repeat the float test to confirm that the bag is now properly sealed before proceeding with the sous vide cooking.
By following these tips and techniques, you can effectively prevent your sous vide bags from floating and ensure successful and delicious results in your sous vide cooking adventures. Remember to choose the right bags, remove air properly, secure the bags in the water bath, minimize air presence, seal the bags tightly, use clips or clothespins when needed, apply a lid or covering, divide contents into smaller bags, use the water displacement technique correctly, and perform a float test to ensure the bags are sealed before cooking. Happy sous vide cooking!


